A Guide to Photoshop Artboards
The introduction of artboards in the latest Photoshop CC 2015 release is an absolute game changer. If you’re a seasoned user of Illustrator, you’ll be aware of just how useful they are.
Artboards allow you to have multiple designs within one document, by allowing you to place multiple designs side-by side. These designs can be of varying sizes, with some preset sizes being made available to choose from including popular web, tablet and mobile sizes – even Apple Watch. This makes it great for designing responsive websites and apps, allowing you to work on the desktop, tablet and mobile views within one document.
You can easily drag and drop assets between artboards, which allows them to be linked – essentially allowing you to change an object on one artboard which then changes it across all other artboards. These can then be saved and exported individually – making this an extremely powerful and flexible new feature. So let’s dive right in!
Checking and updating your Photoshop version
First off, make sure you are running the latest Photoshop CC 2015 version. You can check your version by going to the Creative Cloud icon in your menu bar. If you need to update it will tell you.

Creating a new artboard
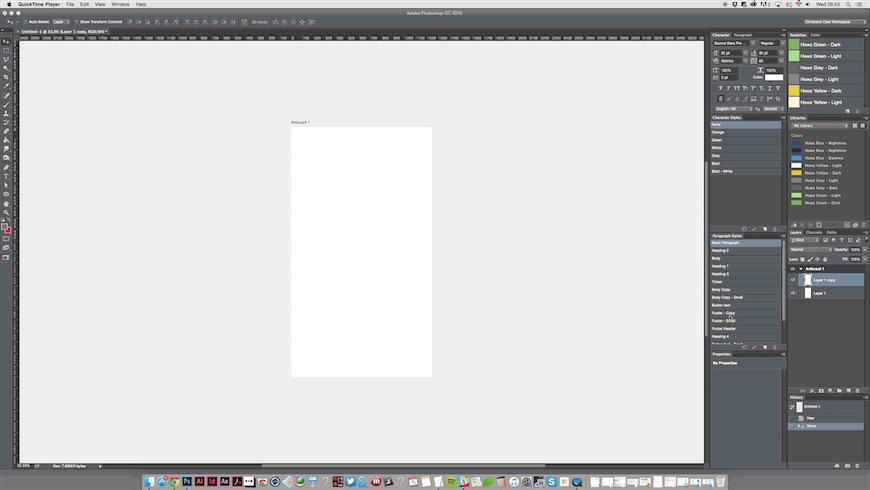
Once you have the latest version of Photoshop, fire it up and we’ll begin by creating a new artboard. Head straight to the File menu and select New, as you usually would when creating a new document. You’ll notice that there is a new document type option called ‘Artboards’. Selecting this shows you a whole raft of new document formats to play with.
Adobe have been really thorough here and have provided us with a large selection of preset screen sizes.
When it comes to layers and how these relate to multiple artboards, we can see that the artboards appear almost like a master group which contains the layers for that artboard. We think this is an extremely intuitive way of representing the layer hierarchy.
Duplicating an artboard
What if you wanted to duplicate an artboard? Well, this also works in the same way as Illustrator, again Adobe seem to have kept the functionality of this the same as it is in Illustrator – which is fantastic for consistency of workflow between products. Holding down the ‘Alt’ key whilst dragging an artboard will duplicate that artboard.
Once we have our designs ready to rock, we can easily export them to PNGs. This is useful if we quickly need to send our designs to the client for review. Exporting these artboards is as easy as right clicking the master layer group for the artboard (in the Layers panel) and selecting ‘Quick Export as PNG’. Alternatively, hitting the ‘Export as…’ option presents us with a new look dialog where we can choose to export our designs into various different formats – useful huh?
What if we wanted to quickly export these designs to PDF? Well Adobe have thought about this too. Head on over to the ‘File’ menu, hover over ‘Export’ and select ‘Artboards to PDF…’ – hey presto!
So, with artboards now added to our design arsenal, what can we do about retrofitting our old designs? Well, this is cool too! Just open your existing design and group all of your layers into one big master layer – now just right click on this master layer and select ‘Artboard from Group…’ – now we’re cooking!
I hope this post has helped you to understand the power of artboards and makes you feel comfortable jumping straight into using them!
Has this been helpful? Do you have any tips on using artboards? Leave us a comment below…